Do you love a card that looks impressive but is surprisingly easy to make? You’re going to love this Easy Tunnel Card Fun Fold!
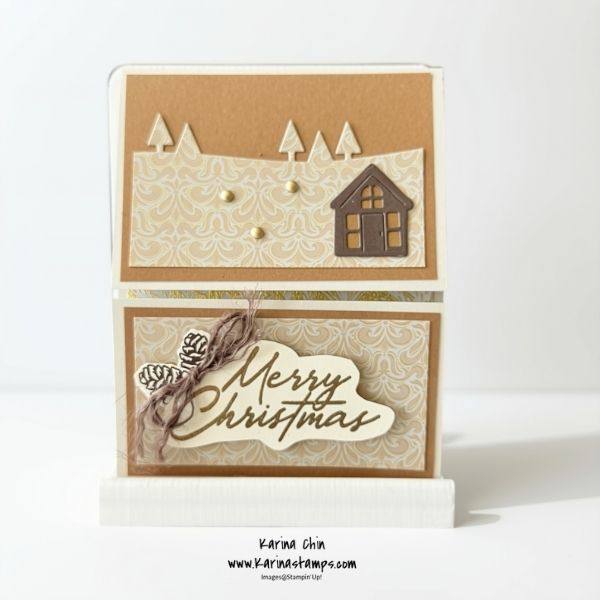
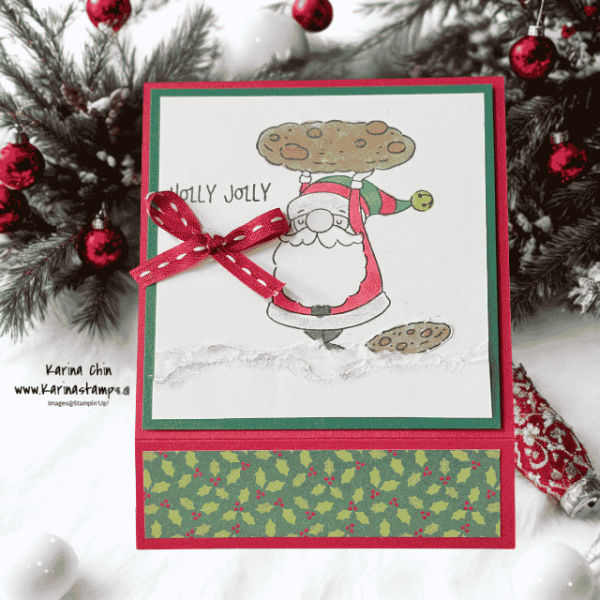
For this project, I created three different Tunnel Cards using three different Stampin’ Up! stamp sets: Pretty Poinsettia, Merry Mischief, and Frosted Pinecones.
It’s amazing how changing the stamps, colours, and Designer Series Paper can give the same fun fold a completely different look!
What Is a Tunnel Card?
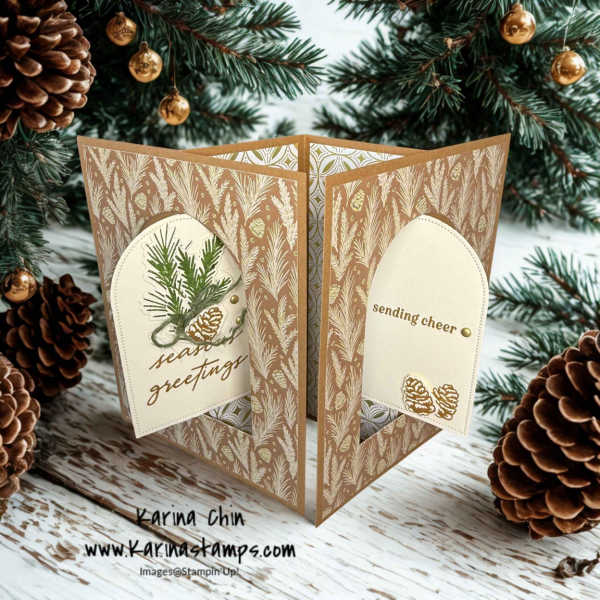
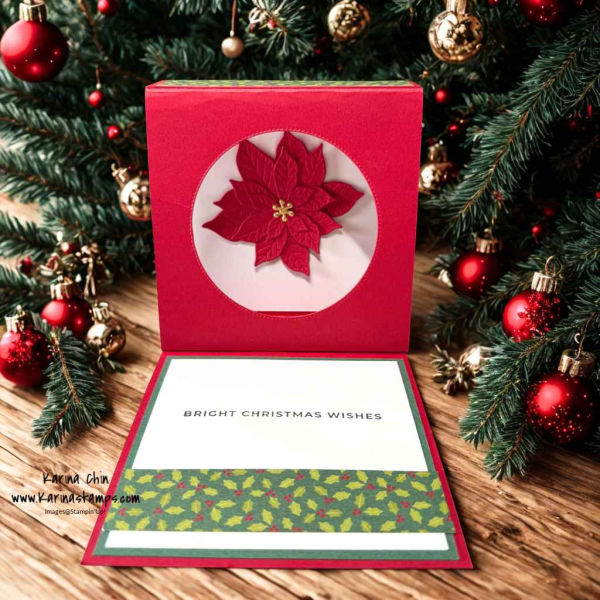
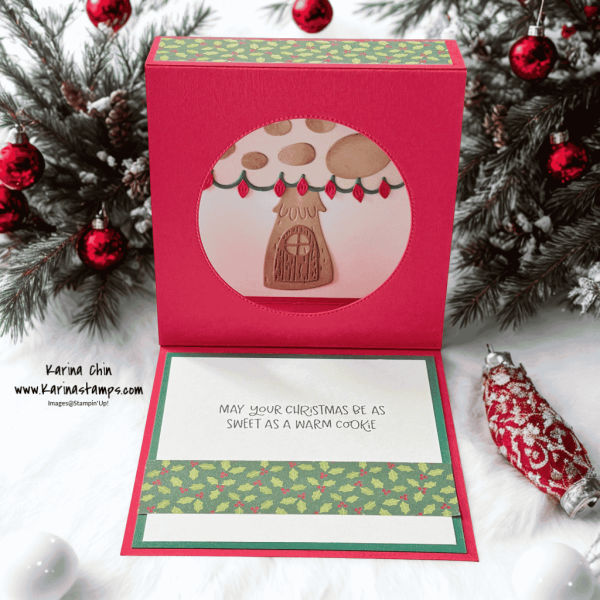
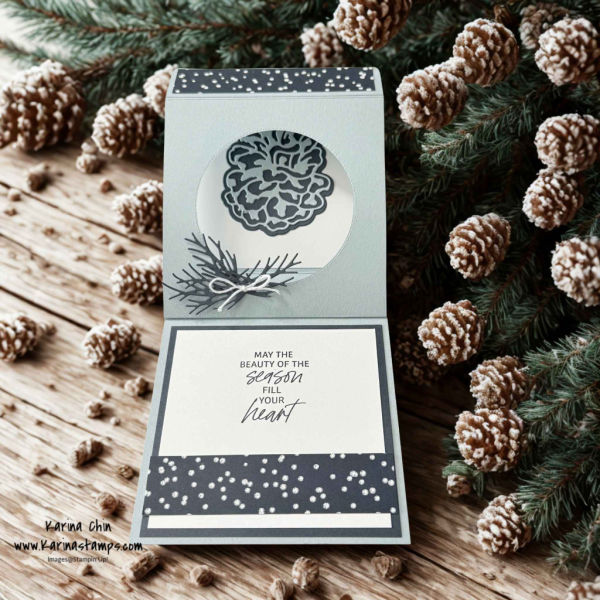
A Tunnel Card is a dimensional fun fold that creates a wonderful layered effect when you open the card. The opening draws your eye into the centre of the card, almost like you’re looking through a little window or tunnel.
It has plenty of WOW factor, but don’t let that fool you—this card is much easier to make than it looks!
Once you understand how the basic card is constructed, you can use the design again and again with different supplies and for different occasions. The card base is 11″ x 4-1/4″ scored at 1-1/4″ and 5-1/2″. The tunnel section is 5-1/4″ x 4-1/4″ scored on each end at 1/2″. You will need 2 pieces of 3-3/4″ x 3-3/4″ of Basic White, 2 pieces of colored card stock 4″ x 4″ and 4″ x 4″ Basic White for the inside of the tunnel.
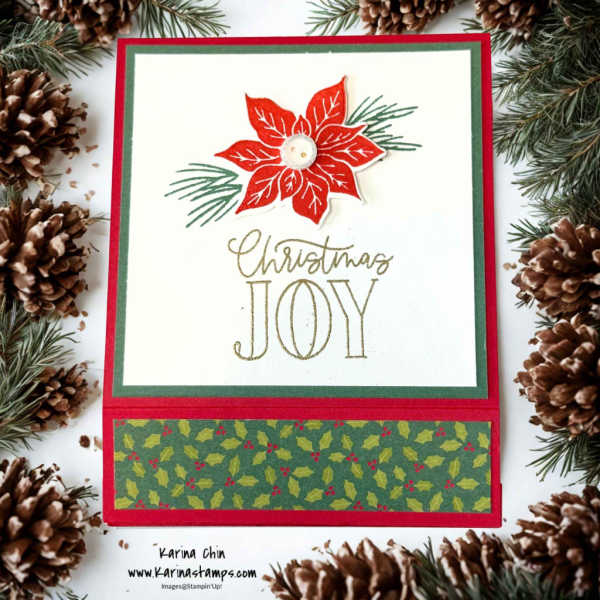
Pretty Poinsettia Tunnel Card
My first design uses the Pretty Poinsettia stamp set.
The beautiful poinsettia makes a wonderful focal point inside the circular opening. I love the traditional Christmas colours on this version, especially the bright red paired with the greenery.
This is a beautiful card to make for someone special at Christmas because opening it reveals that unexpected dimensional design.
Merry Mischief Tunnel Card
For my second version, I changed things up with the Merry Mischief stamp set.
Using a completely different stamp set is a great way to see just how versatile this Tunnel Card design can be. You don’t need to save this fun fold for elegant cards—you can have fun with it too!
Try looking through the stamp sets you already own and imagine what image you could feature inside the tunnel.
Frosted Pinecones Tunnel Card
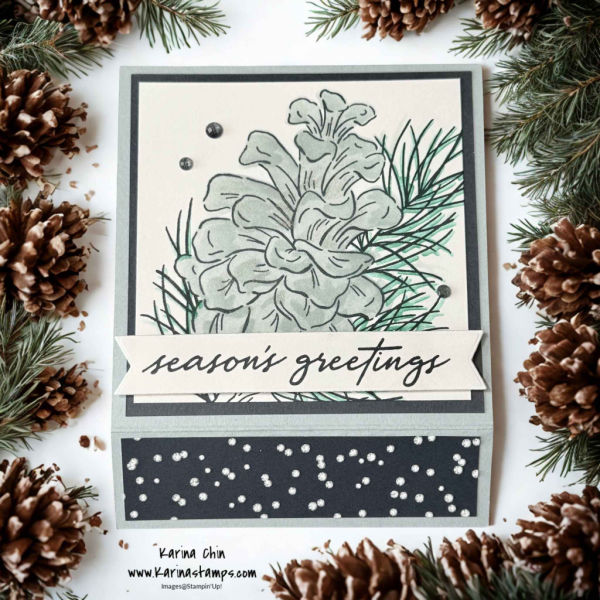
My third card features Frosted Pinecones.
This design gives the Tunnel Card another completely different Christmas look. Wintery images are perfect for this type of dimensional card because the layers can help create a beautiful sense of depth.
And remember, once you’ve mastered the basic Tunnel Card, you don’t have to limit yourself to Christmas. Change the colours and stamps and use the same idea for birthdays, thank-you cards, anniversaries, or just about any occasion.
Watch the Easy Tunnel Card Video Tutorial
If you’ve never made a Tunnel Card before, don’t worry! In my video, I’ll show you how to put the card together and share all three designs.
This is one of those fun folds that looks complicated when someone receives it—but you’ll know how easy it really was!
I hope the three different versions inspire you to look at the stamps and papers in your own craft room and give this fold a try.
Shop Stampin’ Up! With Me
Need supplies for your next card-making project?
You can shop Stampin’ Up! with me at:
🎁 Shopping Perk: When you place an order of $65 or more with me, you’ll also receive my FREE 17-project PDF tutorial filled with even more card-making inspiration!
I’d love to know which Tunnel Card you like best—Pretty Poinsettia, Merry Mischief, or Frosted Pinecones? Leave me a comment and let me know!
Thanks for stopping by.