If you love creating unique and eye-catching holiday cards, you’re going to adore today’s project! In this tutorial, I’ll show you how to make a Flip Flaps Ornament Card featuring the beautifully detailed Delicate Pines Stamp Set and Dies from Stampin’ Up!®. This interactive card design adds movement, elegance, and a wintery charm—perfect for holiday gift-giving, tags, or handmade cards for friends and family.
Whether you’re new to Flip Flaps or you’ve used them before, this technique is simple, fun, and perfect for stepping up your cardmaking this season.
❄️ Why You’ll Love the Delicate Pines Bundle
The Delicate Pines Bundle brings the beauty of winter evergreens and snowflakes directly to your crafting table. With its soft pine details, natural textures, and mix-and-match greenery pieces, this bundle is ideal for holiday cards, tags, ornament accents, and winter décor projects.
Bundle Features
- 14 photopolymer stamps (available in English or French)
- Pine snowflakes, layered greenery, and seasonal details
- 22 coordinating dies including pine branches, holly berries, sprigs, and more
- Largest die: 3-1/4″ x 3-1/4″ (8.3 x 8.3 cm)
- Compatible with the Stampin’ Cut & Emboss Machine and the Mini Machine
- Save 10% when you purchase the bundle instead of buying the items individually
- Perfect for creating multiples—great for the holiday season!
If you love adding depth, texture, and natural elements to your cards, this bundle is a must-have.
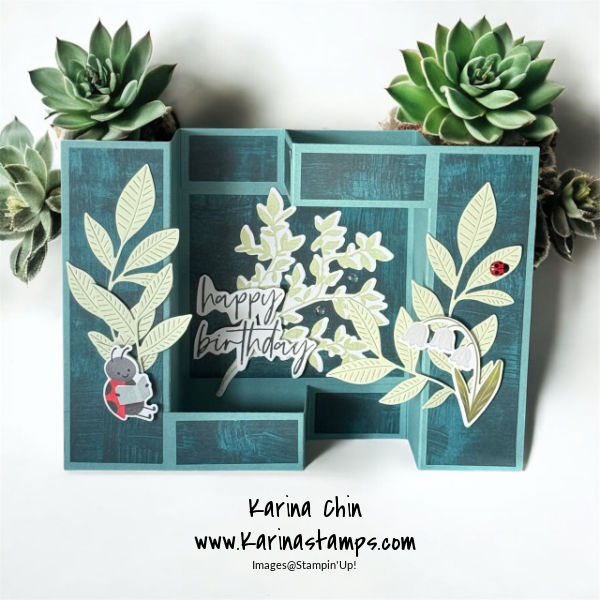
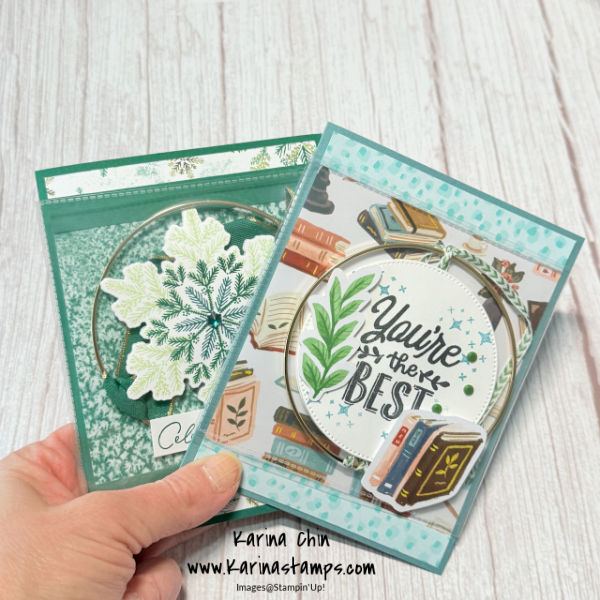
🎄 Today’s Project: Flip Flaps Ornament Card
This tutorial shows you how to turn Flip Flaps into a beautiful ornament card. When opened, the panel reveals a ornament you can gift for a bag tag or Christmas ornament —making the card feel magical and interactive. The Delicate Pines dies make layering effortless, and the stamps add stunning winter details.
Use this card as:
✔ A greeting card
✔ A holiday ornament for your tree
✔ A gift tag
✔ A keepsake tucked inside a present
Be sure to watch the full YouTube tutorial for step-by-step instructions!
👉 Watch the Video Here:
https://www.youtube.com/@karinastamps
🌟 Supplies Used
All supplies can be purchased through my Stampin’ Up! online store.
🛒 Shop Stampin’ Up! Supplies:
http://www.karinachin.stampinup.net/
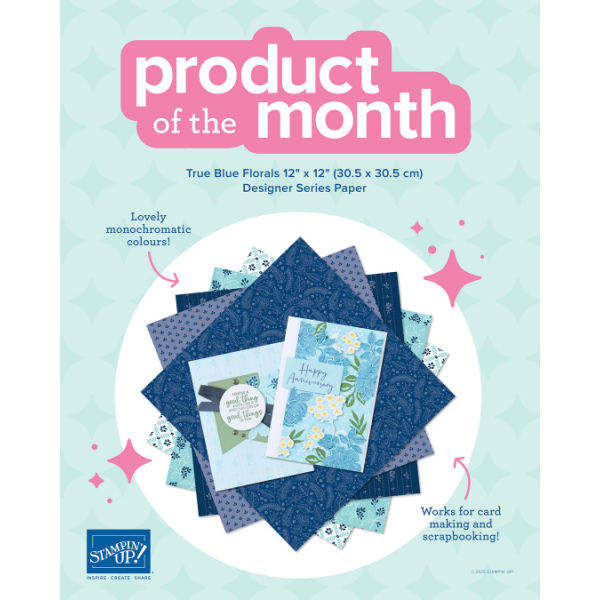
I’m so excited to share a brand-new monthly perk just for Stampin’ Up! shoppers! Each month, you can earn a special Product of the Month—an exclusive item available only while supplies last.
Here’s how it works (super simple!):
1️⃣ Log in to your Stampin’ Up! account
Don’t have one yet? It only takes a minute to set up!
2️⃣ Place a $100+ order
Add anything you want to your cart—just make sure your total is $100 or more after coupons, Stampin’ Rewards, or discounts.
3️⃣ Add the Product of the Month
Once your cart hits the $100 threshold, you’ll unlock the option to add that month’s exclusive item.
✨ Limit one per account, and only available while supplies last!
4️⃣ Enjoy your monthly crafting treat!
And as a bonus, when you order with me, you’ll also receive my 15-project tutorial, free with every qualifying order.
💌 Stay Connected
Love tutorials like this? Join my creative community for weekly projects, classes, and inspiration!
📬 Join My Mailing List:
https://www.karinastamps.com/
(The subscribe box is on the right side of the page.)
▶️ Watch More Card Videos:
https://www.youtube.com/@karinastamps
📌 Pinterest:
https://ca.pinterest.com/karinastamps/
📸 Instagram:
https://www.instagram.com/stampwithkarina/
👍 Facebook:
https://www.facebook.com/Karinastamps
📝 Blog Home:
https://www.karinastamps.com/
Thanks for stopping by and I hope you love my projects today.